
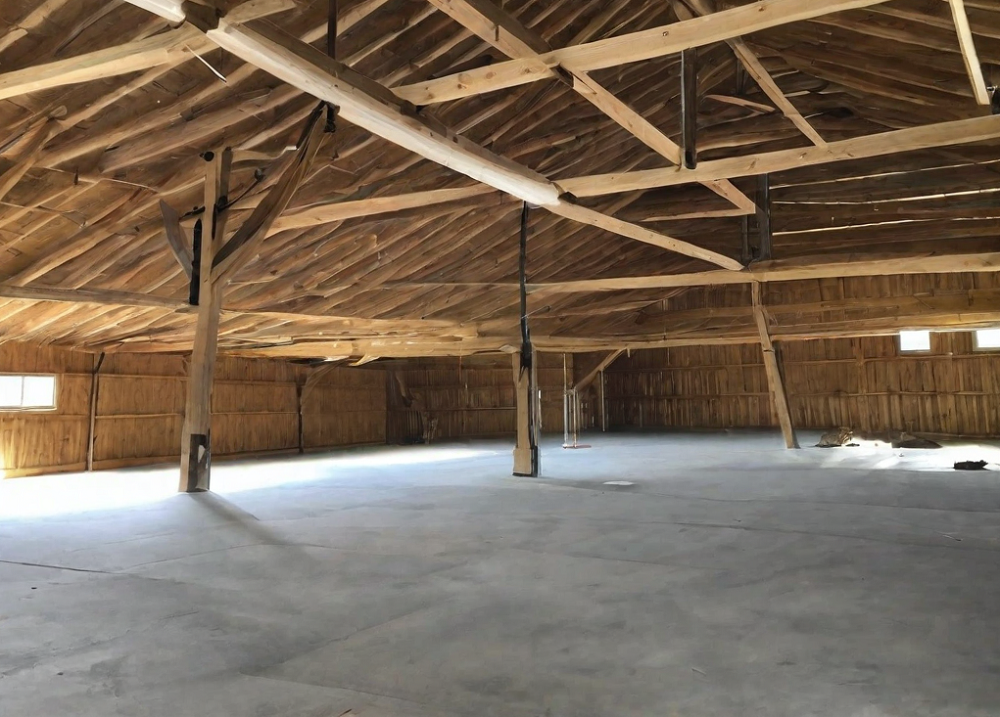
A raised floor in a pole barn creates useful extra space underneath for storage or livestock while providing a clean, dry surface above for various workshops, garages, or living activities. Constructing a quality raised floor takes some planning and effort, but the results are worthwhile. Here are the steps to building your own raised floor in a pole barn.
How To Build a Raised Floor in a Pole Barn?
Building a raised floor in a pole barn can provide numerous benefits, such as improved insulation, better drainage, and enhanced functionality. To help you with the process, here is a step-by-step guide on how to build a raised floor in a pole barn:
Materials and Tools:
- Pressure-treated lumber (2×6 or 2×8 boards)
- Plywood sheets
- Concrete piers or cinder blocks
- Gravel or crushed stone
- Moisture barrier (plastic sheeting)
- Screws or nails
- Concrete mix (if using concrete piers)
- Construction adhesive
- Measuring tape
- Level
- Circular saw or miter saw
- Drill or nail gun
- Shovel or excavator (if needed)
- Wheelbarrow or bucket (for mixing concrete)
- Safety equipment (gloves, safety glasses, etc.)
Step-by-Step Guide:
- Measure and Plan: Start by measuring the dimensions of your pole barn and determining the desired height for your raised floor. Consider any slopes in the barn’s existing floor and plan accordingly to ensure a level surface.
- Clear the Area: Remove any debris, tools, or materials from the barn’s interior. If necessary, use a shovel or excavator to level the ground and clear away any uneven spots.
- Establish Support: Decide on the type of support system you want to use for your raised floor. The two common options are concrete piers or cinder blocks. Space them evenly along the perimeter of the barn, ensuring stability and support for the floor.
- Prepare the Ground: If you’re using concrete piers, dig holes at each predetermined spot according to the required depth. Make sure the holes are below the frost line to prevent heaving during colder months. For cinder blocks, level the ground and place them directly on the stable surface.
- Install Support Beams: Place pressure-treated lumber boards (2×6 or 2×8) across the piers or cinder blocks. Ensure they are level and aligned with the barn’s perimeter. Use construction adhesive or nails to secure the beams to the support structure.
- Lay Moisture Barrier: Cover the entire floor area with a moisture barrier, such as plastic sheeting. Overlap the sheets and secure them to the support beams using staples or adhesive. This will help prevent moisture from seeping into the floor and causing damage.
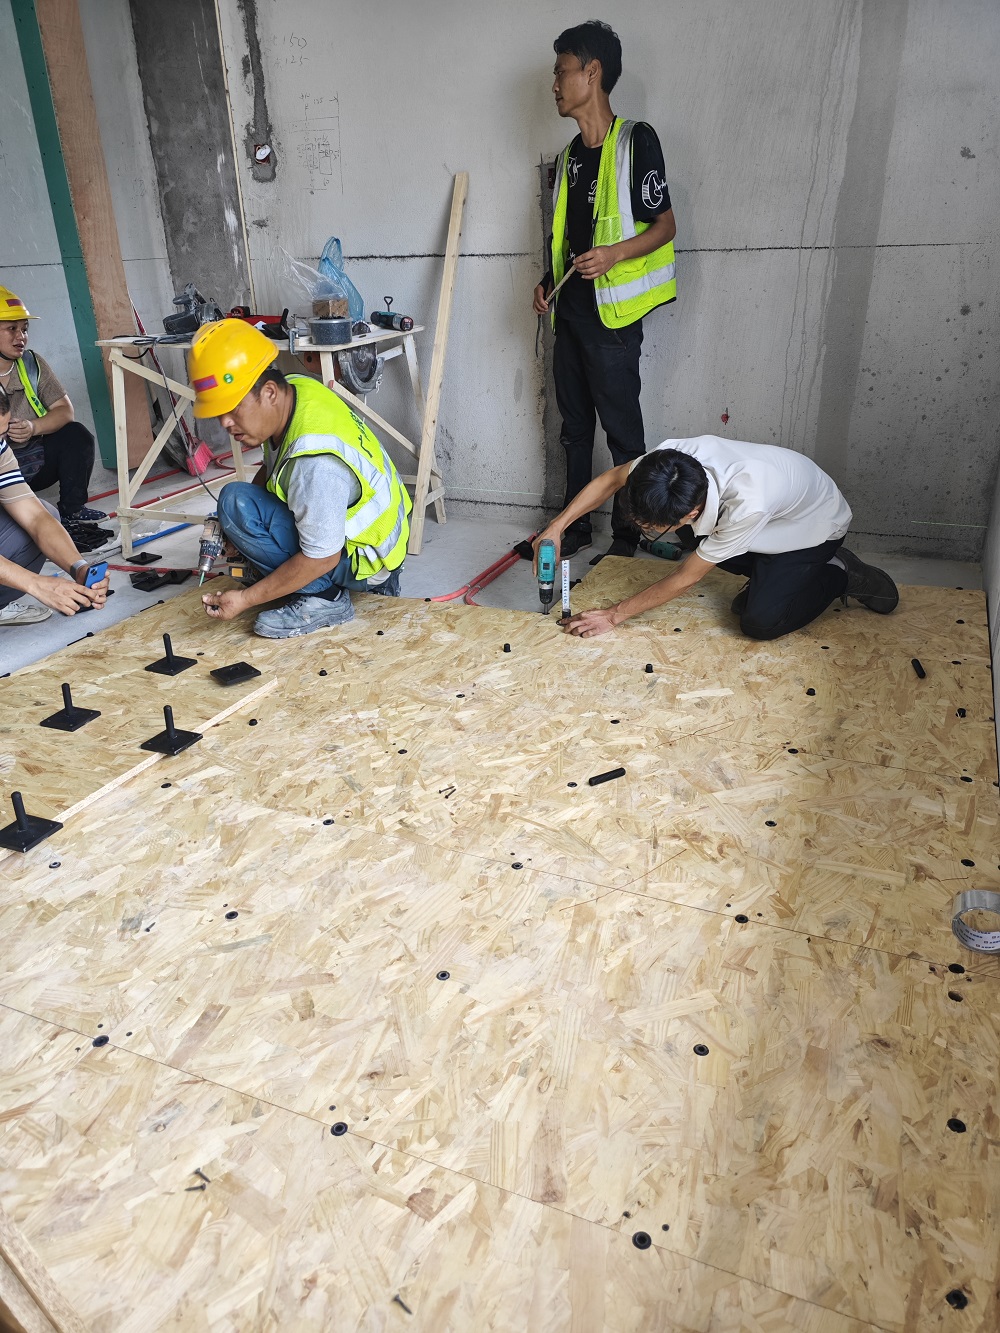
- Frame the Floor: Cut and install pressure-treated lumber boards (2×6 or 2×8) perpendicular to the support beams, creating a grid-like pattern. Ensure the boards are spaced evenly to provide structural stability. Secure them using screws or nails.
- Install Subfloor: Place plywood sheets on top of the frame, ensuring a tight fit. Use a circular saw or miter saw to cut the plywood to size. Stagger the seams between the plywood sheets for added strength and stability. Attach the plywood to the frame using screws or nails.
- Finishing Touches: Inspect the floor for any loose screws or nails and tighten them if necessary. Sand down any rough edges or splinters to create a smooth surface. You can also consider painting or staining the floor for added aesthetic appeal.
By following these step-by-step instructions, you can create a sturdy and level raised floor in your pole barn, providing insulation, improved drainage, and a solid foundation for various activities.
Huiya Real-Time News
Huiya Real-Time News is dedicated to providing you with the latest and most authoritative information on the raised flooring industry.
We provide 24/7 updates on industry policy interpretations, market trend analysis, company news.


匯亜総経理、常州市文化交流協会の日本視察団に参加|匠の文化と経営の道を学ぶ

匯亜OAフロア、日本・福伸電機を訪問 -リーン生産方式と企業経営のノウハウを深く学ぶ
湖州にて日本式二重床システムの現地調査:商業用フリーアクセスフロアから住宅市場への新たな機会 | 汇亚
MORE DOWNLOADS

GENERAL CATALOGUE

HUIYA INTRODUCTION

HUIYA GREEN LABEL

CAD/BIM FULL STEEL
APPLICATION SCENARIOS


