
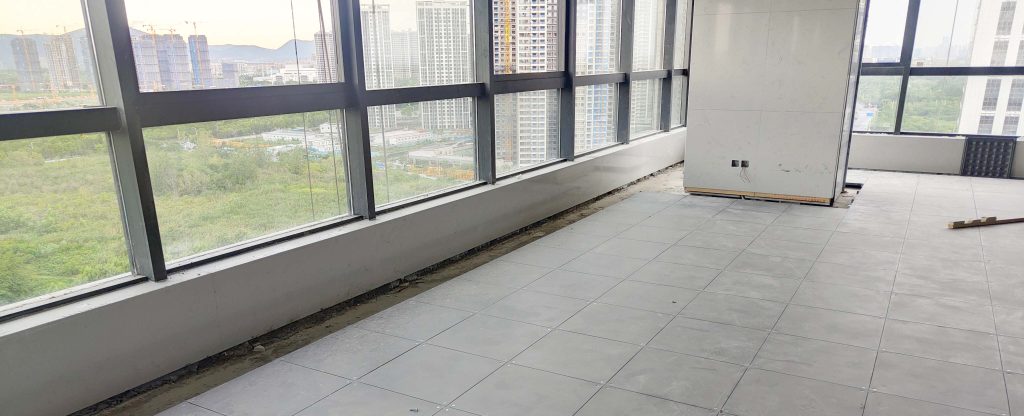
When it comes to renovating or upgrading your space, creating a raised floor over a concrete slab can be a beneficial solution. A raised floor not only provides insulation, moisture protection, and durability but also offers the flexibility to install various systems beneath it. Whether you are looking to enhance the aesthetics, improve insulation, or accommodate underfloor utilities, this comprehensive guide will walk you through the process of building a raised floor over a concrete slab.
1. Assessing the Feasibility and Planning
Before embarking on your raised floor project, it’s crucial to assess the feasibility and determine if it aligns with your needs. Consider the following factors:
- Purpose and Requirements: Define the purpose of the raised floor. Will it be used for aesthetics, utility management, or insulation? Identify the specific requirements you want to achieve.
- Structural Evaluation: Examine the condition and strength of the existing concrete slab. Ensure it is capable of supporting the additional weight of the raised floor.
- Building Codes and Regulations: Familiarize yourself with local building codes and regulations to ensure compliance throughout the construction process.
- Design and Layout: Plan the layout and design of your raised floor. Consider factors such as room dimensions, access points, floor heights, and aesthetic preferences.
2. Gathering Materials and Tools
To successfully build a raised floor, you’ll need a range of materials and tools. Here is a list of essential items to gather before starting the construction process:
Materials:
- – Pressure-treated lumber or steel joists
- – Plywood or oriented strand board (OSB)
- – Vapor barrier or moisture barrier
- – Insulation materials
- – Screws, nails, and construction adhesive
- – Leveling shims
- – Finishing materials (e.g., flooring, baseboards)
Tools:
- – Measuring tape and level
- – Circular saw or miter saw
- – Drill or screwdriver
- – Hammer and nails
- – Chalk line
- – Carpenter’s square – Safety equipment (gloves, safety glasses, dust mask)
3. Step-by-Step Construction Process
Now follow the below steps to build up the raised floor over concrete slab:
Prepare the Concrete Slab:
- – Clean the concrete slab thoroughly, removing any dirt, debris, or adhesive residues.
- – Fill any cracks or uneven areas in the slab using a suitable concrete filler or leveling compound.
- – Ensure the slab is completely dry before proceeding.
Install Vapor Barrier:
- – Lay out a moisture or vapor barrier over the concrete slab to prevent moisture infiltration from the slab.
- – Overlap the seams of the barrier and secure it using construction tape or adhesive.
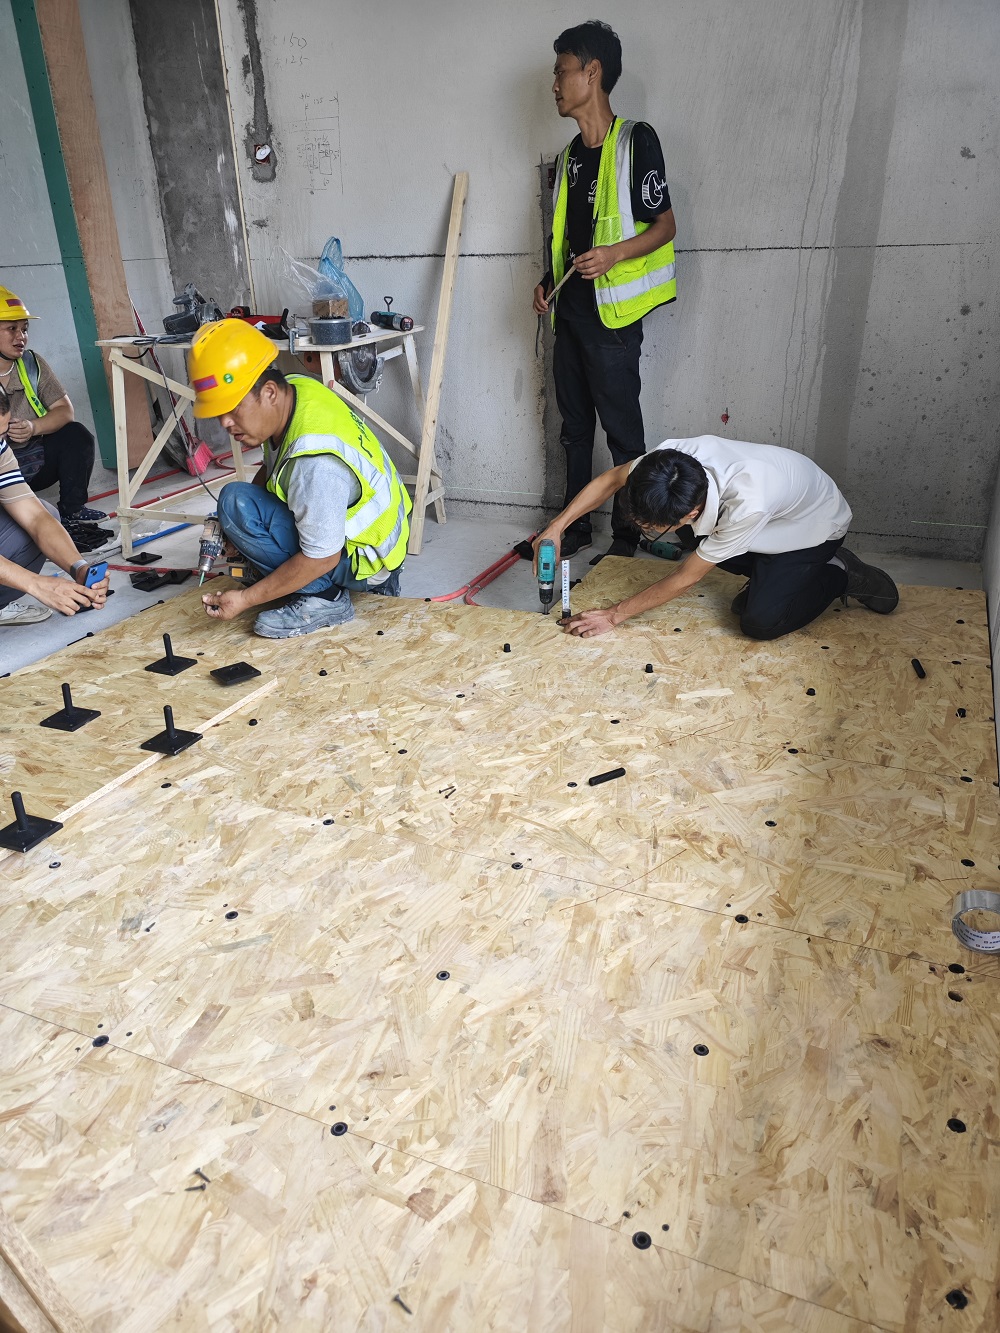
Create a Subfloor Framework:
- – Measure and mark the layout of the raised floor on the concrete slab, ensuring the dimensions align with your design plans.
- – Construct the subfloor framework using pressure-treated lumber or steel joists. Secure the framework to the slab using concrete anchors or adhesive.
Insulation Installation:
- – Install insulation material between the subfloor joists to enhance thermal and acoustic properties.
- – Use insulation materials suitable for your specific requirements, such as foam board insulation or batt insulation.
- – Ensure proper insulation coverage and alignment to maximize energy efficiency.
Attach the Subflooring:
- – Cut plywood or OSB panels to fit the subfloor framework using a circular saw or miter saw.
- – Lay the subfloor panels over the framework, ensuring a tight fit and leaving a small gap for expansion.
- – Secure the subfloor panels to the framework using screws or nails, following the manufacturer’s guidelines.
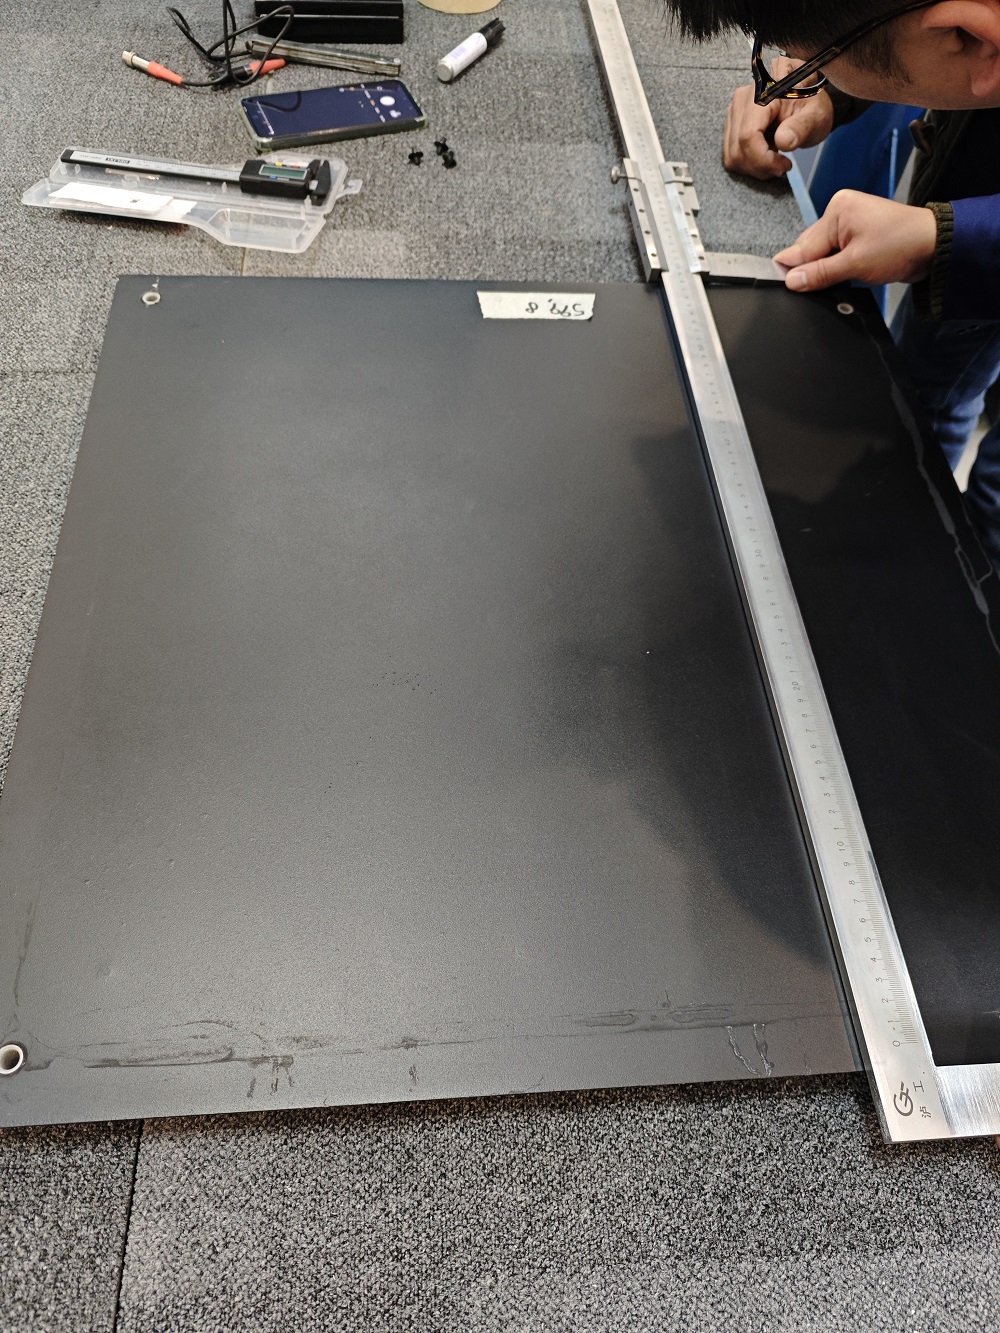
Level and Adjust:
- – Use a level to check the flatness and evenness of the subfloor panels.
- – Adjust the height using leveling shims where necessary to ensure a level surface for the finished floor.
Finish the Raised Floor:
- – Install the desired flooring material over the subfloor, considering factors such as aesthetics, functionality, and maintenance requirements.
- – Complete the raised floor by adding baseboards or trims along the perimeter to enhance the overall appearance.
4. Additional Considerations and Tips
After installing the main flooring, there are a few finishing touches to consider:
HVAC and Utility Access:
- – Plan and allocate space within the raised floor for the installation of HVAC ducts, electrical wiring, or plumbing.
- – Consider the positioning of access points to facilitate maintenance and future upgrades.
Flooring Selection:
- – Select flooring materials suitable for the intended use and aesthetic preferences.
- – Ensure compatibility with the raised floor construction and consider factors such as moisture resistance, durability, and ease of maintenance.
Professional Assistance:
- – If you’re unsure about any aspect of the construction process, consult with a professional contractor or engineer for guidance and assistance.
- – Seek expert advice for specific requirements, such as load-bearing calculations or complex utility installations.
Building a raised floor over a concrete slab can transform your space by providing insulation, moisture protection, and the flexibility to accommodate underfloor utilities. By assessing feasibility, planning meticulously, gathering the necessary materials, and following a step-by-step construction process, you can successfully build a raised floor that meets your specific needs. Remember to adhere to local building codes and regulations, prioritize safety precautions, and seek professional assistance when needed. With the knowledge and guidance provided in this comprehensive guide, you are well-equipped to embark on your raised floor construction journey.
Huiya Real-Time News
Huiya Real-Time News is dedicated to providing you with the latest and most authoritative information on the raised flooring industry.
We provide 24/7 updates on industry policy interpretations, market trend analysis, company news.

匯亜総経理、常州市文化交流協会の日本視察団に参加|匠の文化と経営の道を学ぶ

匯亜OAフロア、日本・福伸電機を訪問 -リーン生産方式と企業経営のノウハウを深く学ぶ
湖州にて日本式二重床システムの現地調査:商業用フリーアクセスフロアから住宅市場への新たな機会 | 汇亚
HUIYA社、JIS A 1450試験装置を完成させ、日本のOAフロア市場向け日本規格への適合を実現
MORE DOWNLOADS

GENERAL CATALOGUE
HUIYA INTRODUCTION

HUIYA GREEN LABEL
CAD/BIM FULL STEEL
APPLICATION SCENARIOS


